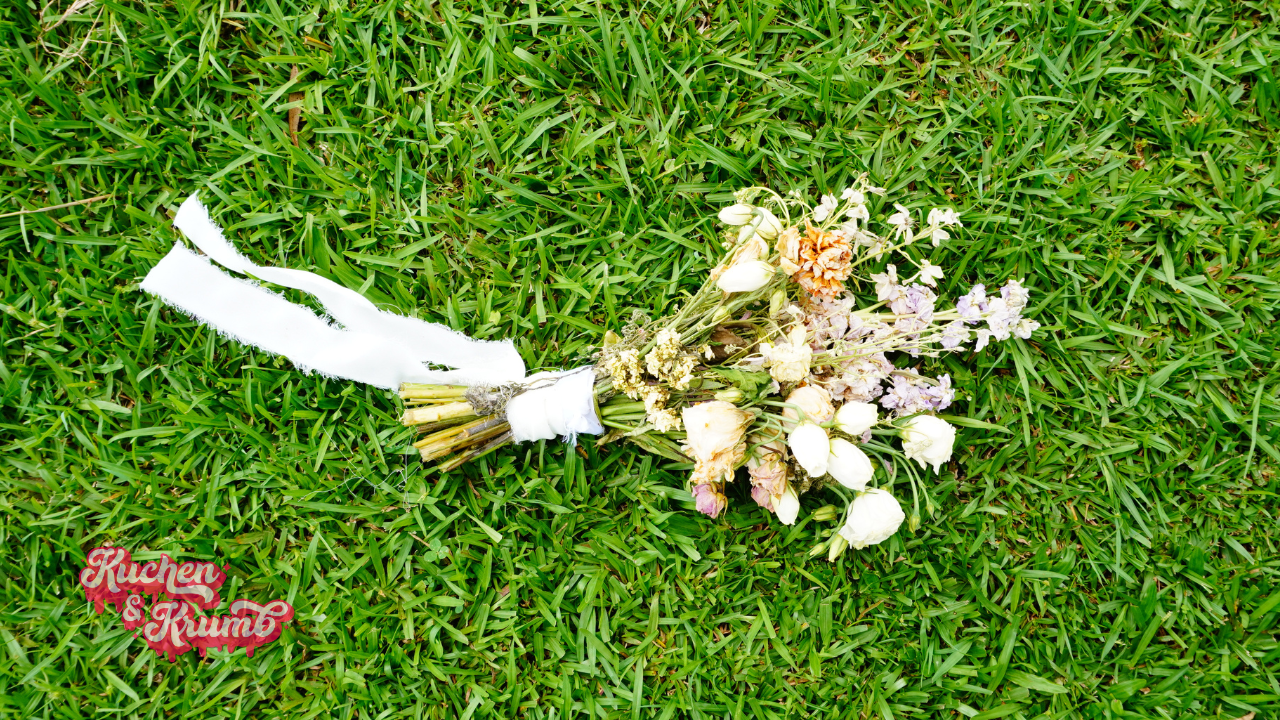
The Importance of the Wedding Bouquet
The wedding bouquet is an important part of any wedding day. It can be expensive but very beautiful. Although your wedding pictures will preserve the beauty of the flowers you chose. It’s is pain full watching the flowers wilt away once your day is over. Preserving your bouquet into functional pieces for your household are a great way to make the most of your flowers.
My sister’s wedding bouquet that she put a lot of effort into choosing each flower into her bouquet, which I am sure you have to. I went a head and made these projects while my sister was on her week long honeymoon, to surprise her when she gets home. If you are going straight on your honeymoon, maybe show this article to a bridesmaid and buy her a resin kit, so this project can be done while your flowers are fresh. Then you know when you get home you will have a preserved part of your wedding day to look at everyday.


List of Tools
- Resin a 500ml kit
- Coaster Moulds
- Sphere Moulds
- Gloves
- Masks
- Frame Mould
- Gold Rocks/ Gold Leaf
- Flowers from Bouquet
- Scissors to cut the flowers
- Magnets
- Paper Cups
- Spoons
Step 1
Safety Tip: Please wear a mask and eye wear and do this project outside in a well ventilated area. Put on gloves and lay plastic down as resin does not come off. Mix the resin as the instructions say which is a 50:50 ratio. Then mix for 7 minutes to completely mix in the hardener. Then pour a small amount of resin into your mould. Then place in you chosen flowers and other objects. Then pour more resin in until the mould is half way full. Let this set for 2 hours until resin is not super liquidly. If you completely fill the resin straight away the flowers will float to the top and not be submerged in the resin.

Step 2
At this stage the resin should not liquid put tacky this is when you can add magnets to the back of the mould. Mix up some for resin and pour the final layer of resin. Then let it set for 24 hours. This brand of resin takes 24 hours to cure. There is other resin brands that set in 2 minutes under a UV light. Just make sure you read what kind of resin you are buying. You can also use a torch to get bubbles out of the resin. I didn’t have one of them so I just mix the resin slowly scrapping the sides, slow stirring prevents bubbles forming.

Step 3
After the resin has set for 24 hours you can do the fun part of unmoulding. You can sand the edges as sometimes they are sharp with a fine gran sandpaper. There is also resin polishing wax you can polish your resin with a micro fibre towel and the polishing wax.


Idea 1: Resin Picture Frame
This picture frame is from Colour Pour Resin brand. This mould comes with the backing. If you buy a picture frame mould with no backing just use thick card board to place in the back and should be fine. This is a great idea to put your wedding picture in to look at everyday.

Idea 2: Resin Coaster
This one is great if you want to use whole flowers but you flatten them to fit in the thin layer of resin.

Idea 3: Paper Weight or Refrigerator Magnet
The paper weight is great if you don’t want to squish the flowers from your bouquet. Putting these in whole looks really good. You can add a strong magnet to the back so that you can put it on the refrigerator to look at everyday.
If you want to learn how to make gourmet cookies have a look at my cookie eBook. Click the button below.
Check out my chewy pumpkin cookies for a fall baking idea


